How to Install Koha
How to Install Koha: Koha is an open-source Integrated Library System (ILS) used worldwide by different libraries such as schools, colleges, universities special libraries, etc. It was created in 1999 by Katipo Communications for the Horowhenua Library Trust in New Zealand. It was written in PERL and released under GNU General Public License V3 or later.
How to Install Koha: To install koha completely in Ubuntu 18.04 LTS we have to go through two processes i.e Character User Interface installation (using terminal) and Graphical User Interface installation (using a web browser). Here the character user interface installation process discussed below.
How to Install Koha: Open Terminal by pressing Ctrl + Alt + T (Press at a time)
Step: 1 – Login as a superuser
sudo su
Enter root password
Step: 2 – Update the system
apt-get update
Step : 3 – Upgrade the system
apt-get upgrade
step: 4 – Install MySQL server
sudo apt-get install mysql-server
Step: 5 – Check MySQL version
mysql –version
Step: 6 – Log in to MySQL
mysql -u root -p
Step: 7 – Set required permission
SET GLOBAL sql_mode=”;
Next exit
Exit;
Step: 8 – Update again the system
apt-get update
apt-get upgrade
Step: 9 – Install a lightweight text editor
apt-get install leafpad
Step: 10 – Add Koha community repository
wget -q -O- http://debian.koha-community.org/koha/gpg.asc | sudo apt-key add –
echo ‘deb http://debian.koha-community.org/koha stable main’ | sudo tee /etc/apt/sources.list.d/koha.list
Step: 11 – Update again the system
apt-get update
apt-get upgrade
Step: 12 – Install Koha
apt-get install koha-common
Step: 13 – Configure koha sites
sudo leafpad /etc/koha/koha-sites.conf
Here I change the port number of the Koha staff client to 8001. Find the following line in the file and make changes.
INTRAPORT=”8001″
OPACPORT=”8000″
next, save and quit.
Step: 14 – Create Apache configuration files.
sudo a2enmod rewrite
sudo a2enmod cgi
sudo service apache2 restart
Step: 15 – Create a Koha instance with the name library
sudo koha-create –create-db library
Step: 16 – Ubuntu MySQL security Tweak
sudo mysql_secure_installation
[Enter the MySQL Root password]
Give the answer n (no) for the first question. Give Y (Yes) for other questions.
Step: 17 – Adding ports
We have assigned 8001 port for Koha staff client and 8000 for OPAC.
Open the following file and add a new port.
sudo leafpad /etc/apache2/ports.conf
Copy-paste following line below Listen 80
Listen 8001
Listen 8000
next, save and close the file.
Step: 18 – Restart Apache
sudo service apache2 restart
Step: 19 – Enable modules and sites
sudo a2dissite 000-default
sudo a2enmod deflate
sudo a2ensite library
sudo service apache2 restart
Step: 20 – Zebra rebuild command
koha-rebuild-zebra -v -f library
Step: 21 – See the password in the koha configuration file
sudo xmlstarlet sel -t -v ‘yazgfs/config/pass’ /etc/koha/sites/library/koha-conf.xml
Step: 22 – Change the password of the koha_library database
sudo leafpad /etc/koha/sites/library/koha-conf.xml
Step: 23 – Configure MySQL for koha
sudo su
[enter the Linux Root password]
mysql -u root -p
[enter the MySQL Root password]
use mysql;
SET PASSWORD FOR ‘koha_library’@’localhost’ = PASSWORD(‘library’);
flush privileges;
quit;
Step : 24 – Restart memcached
sudo service memcached restart
Now, koha has been installed successfully
Step: 25 – Launch a web browser and put the following URL
http://127.0.1.1:8001 (Staff client)
http://127.0.1.1:8000 (Online catalog)
Step: 26 – Web Installation
How to Install Koha
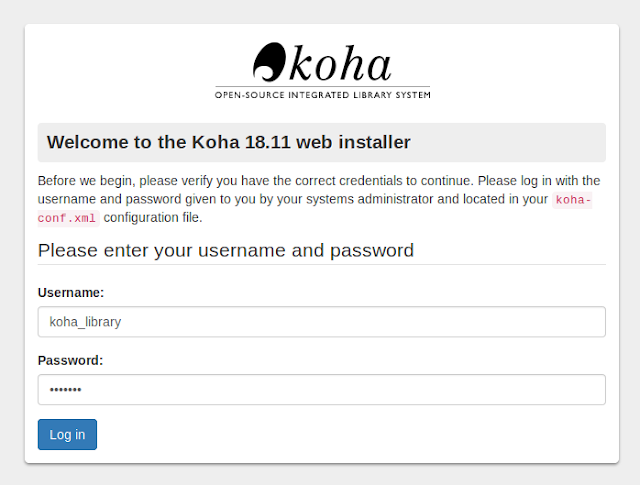
How to Install Koha: Step – 1: Log in through ID and Password.
Log in through administrator ID and password given at the koha-conf.xml.
Step – 2: Choose Language.
Select desired language and click on continue to the next step.

Step – 3: Check Perl Dependencies
It will automatically check Perl dependencies. Click on continue to the next step.

Step – 4: Database Setup
It will automatically list previous database settings which were configured at the time of installation.

Step – 5: Database Connection Settings
It will automatically connect to the database.

Step – 6: Set Up Database

Step – 7 : Database Table Creation
It will create database tables

Step – 8: Install Basic Configuration Settings

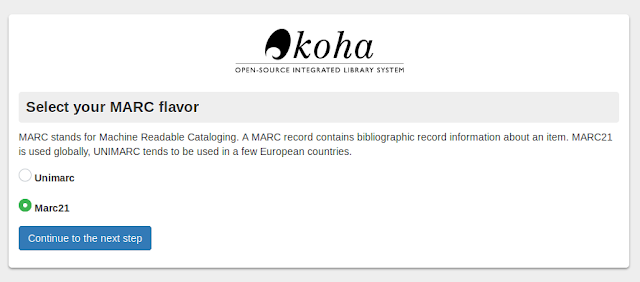
Step – 9: Set Up Marc Format for Record Entry
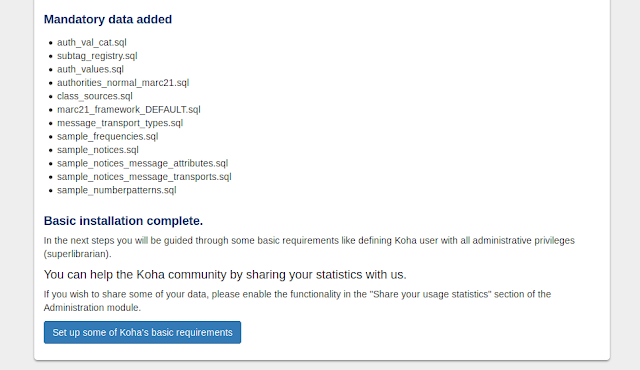
Step – 10: Import Files
Import almost all files to the database except sample libraries and sample patrons because we need to enter our library name and register our patrons for our library.

Step – 11: Set up Some Koha’s Basic Requirements
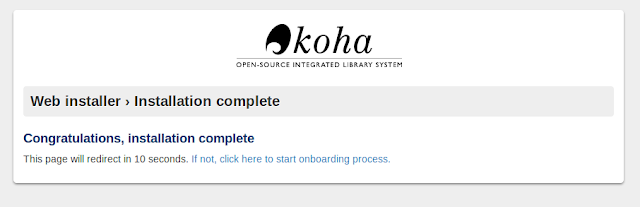
Step – 12 : Installation Complete
Now installation complete and it will automatically be redirected to the login page after 10 seconds.
How to Install Koha Important Links
| Particulars How to Install Koha | Links How to Install Koha |
| Go to the Official website Click Below this link | |
| Official Website for koha Community | Click Here |
| Home Page Gyanmala Library | Click Here |
| To view all India Librarian Jobs | Click Here |
| To view MCQ Quiz for UGC NET in Library Science Subject | Click Here |
| To view Punjab State Govt. Jobs | Click here |
| To View Koha Library Automation services | Click Here |
| To View Punjab State Private Jobs | Click Here |
| Trending Article in Library Science | Click Here |
 | ||
 | ||
 | ||
 | ||
 |